
Tuesday’s flute snaps mid-lot, the corner chips on hole one, or torque spikes at a repeatable depth—and the first instinct is “wrong grade / weak carbide.” That swap often fails because the load that broke the drill is still in the setup: walked entry, packed chips, excess runout or stickout, hard-skin or cross-hole shock, a point that does not match the material, or coolant that never reached the tip.
Run the six checks below at the machine, in order, before you reorder or change grade. Each one gives the shop signal, what to check first, and what a tool swap alone will not fix. To read the break location, wear pattern and chip form in more depth, use the full diagnosis in why solid carbide drills break. Once the cause is named, send the evidence with the drawing for an XRZ engineering review.
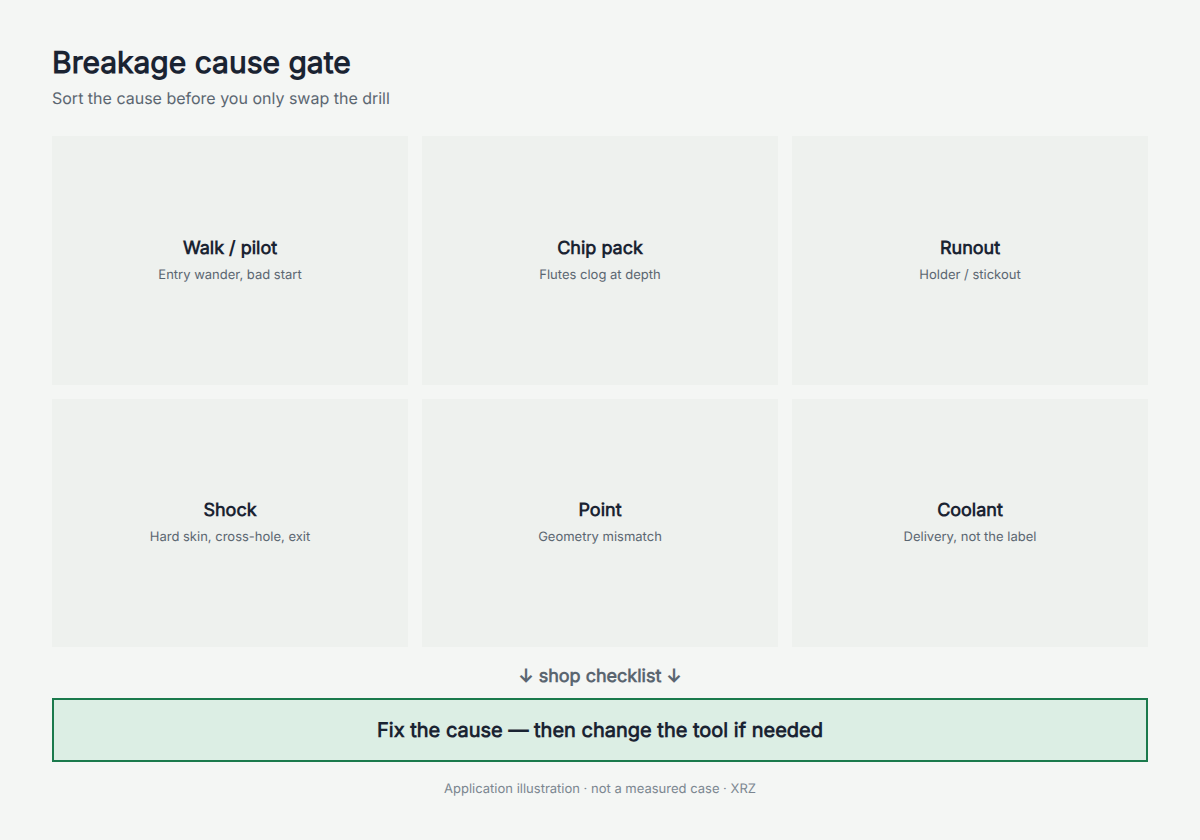
Most solid carbide drill breaks trace back to six causes: walked entry, packed chips, excess runout or stickout, entry or exit shock (hard skin, cross-holes, breakthrough), a point that does not suit the material, and coolant that never reaches the tip. A tougher grade fixes none of them on its own. Name the dominant cause, change one variable, and record depth, material, holder runout and the hole number at failure for the drill RFQ.
Walk, pilot, and entry misalignment
Shop signal: First-hole or early-lot corner chip; hole position wanders; one land wears harder than the other; break near the point after an angled face, casting skin, or poorly centered start.
Check first: Entry surface angle and support; spotting / pilot alignment and size vs the finish point; fixture rigidity at first engagement; whether the drill is forced to follow a misaligned or work-hardened pilot.
Don’t only swap the tool: A tougher blank still sees unequal load if the axis walks at entry. Fix centering and entry load before blaming grade. If a later ream or bore depends on this hole, check the hole machining process route before you change the drill.
Chip packing and deep-hole cues
Shop signal: Torque or spindle load rises at a repeatable depth; flutes show welded or crushed chips; break in the fluted body after “it was fine near the mouth”; heat-colored chips before fracture.
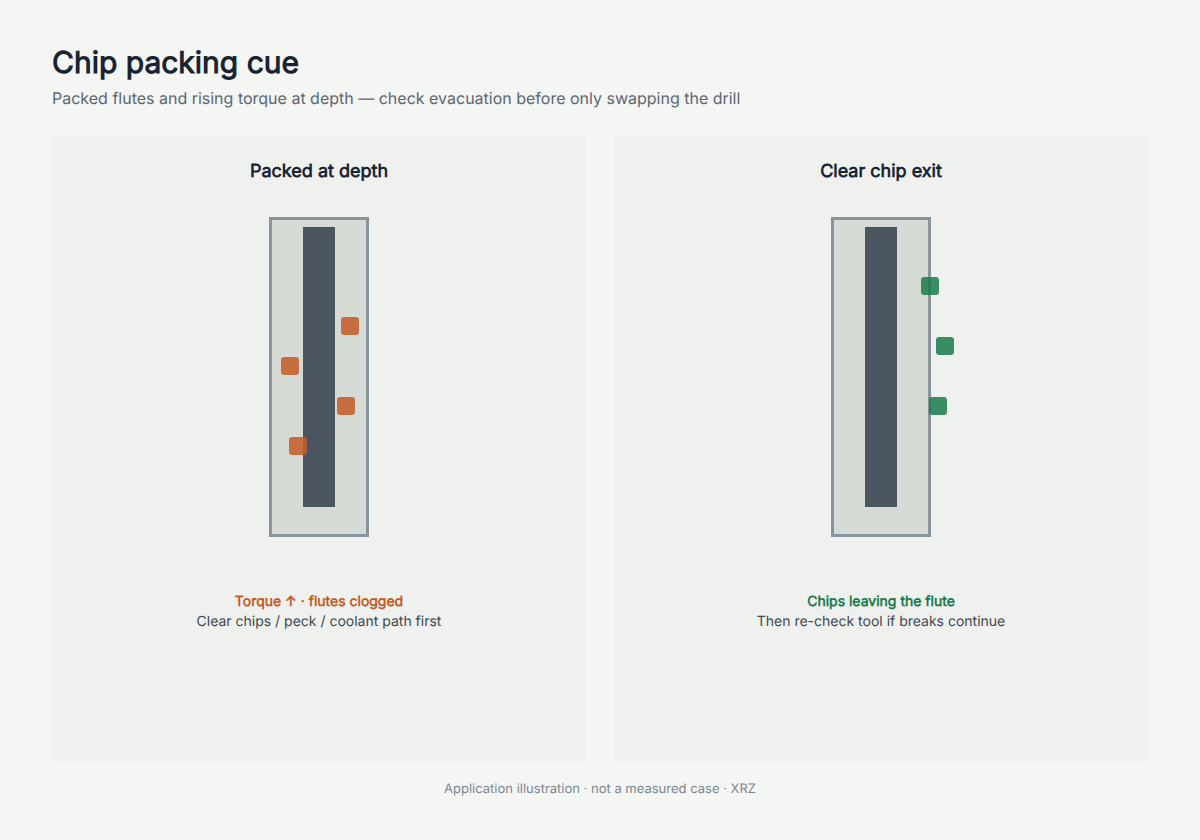
Check first: Whether chips can leave (flute loading, peck / retract habit, blind vs through); coolant path all the way to the tip, beyond wetness at the entry; depth class vs evacuation reality.
Don’t only swap the tool: A new drill in the same packed hole repeats the torque spike on the next first-off. Clear evacuation and delivery first. When flood cannot keep chips and heat stable at depth, work through when through-coolant is required on solid carbide drills before you order a TSC drill.
Runout, holder, and stickout
Shop signal: Uneven land wear; one corner chips repeatedly; oversize or scored walls; break that looks like alternating bend—especially on long projection.
Check first: Assembled TIR at the intended production stickout (shank + holder + spindle) with the drill clamped, since a loose-drill presetter reading misses the holder; collet/holder cleanliness and clamping range; unnecessary overhang beyond usable flute length.
Don’t only swap the tool: Replacing geometry while the same holder projects the same error rebuilds one-sided load—first-article will chip the same corner. Stabilize the assembly before changing coating or point alone.
Hard skin, cross-hole, and exit breakout shock
Shop signal: Chip or break timed to first contact on scale/skin, to a cross-hole or window, or to breakthrough; exit burr / breakout paired with corner fracture.
Check first: Exact cycle moment of damage; unsupported edge engagement at interruptions; feed and support at exit; remaining wall thickness and fixture backup at breakthrough.
Don’t only swap the tool: Shock at interrupted walls is a process and feature load—coolant and a “stronger” catalog item do not buy out an unsupported breakthrough. Plan entry/exit and interruptions as part of the hole system before the next blank arrives.
Point and geometry mismatch
Shop signal: Stable setup and evacuation, yet the point rubs, thrusts hard, or chips in a material/entry the geometry was not meant for—or a pilot and finish point fight each other.
Check first: Point style and web vs material and entry condition; pilot/finish compatibility; whether the print needs create-hole only or a later finish step (a drill opens the hole and a reamer sizes it; see reamer vs drill bit).
Don’t only swap the tool: “Different brand, same point family” rarely fixes a mismatch. XRZ reads the material, the hole chart and the failure photos before proposing a point change. When the hole justifies a custom design, start from the solid carbide drill range.
Coolant reality: what actually reaches the tip
Shop signal: Blue / heat-stained chips or margins; pack after “the gauge looked fine”; through-coolant drill run on a dry holder path; outlets blocked or flow lost after filter events.
Check first: Real delivery at stickout through the channels, rotary union, holder path and filtration, checked on the machine; whether flood only ever wet the mouth while the tip ran dry.
Don’t only swap the tool: A TSC-capable blank without TSC on the machine does not invent delivery.
Six causes and the first fix
| Cause | Shop signal | Check first | Don’t only… |
|---|---|---|---|
| Walk / entry | Early chip · wander · one-sided land | Pilot/spot · entry angle · fixture at engagement | Swap grade |
| Chip pack | Torque rise at depth · packed flutes | Evacuation · peck habit · tip delivery | Swap blank into same pack |
| Runout / stickout | Uneven wear · bend-like break | Assembled TIR · holder · overhang | Change coating alone |
| Entry/exit shock | Break at skin / cross-hole / breakthrough | Cycle moment · support · exit feed | Buy “tougher” without feature plan |
| Point mismatch | Rub / thrust / chip with setup OK | Point vs material · pilot/finish fit | Same point, new brand |
| Coolant reality | Heat chips · dry tip · blocked outlets | Path + flow at stickout | Trust label / gauge only |
Preserve the broken tool, chips, and hole-number notes. Change one controlled variable after you name the dominant cause.
What to send on a breakage RFQ
Minimum pack for an XRZ engineering review:
- Hole drawing: Ø, depth, entry/exit, cross-holes, steps
- Material grade / condition (hardness or skin notes if known)
- Holder, stickout, and any assembled runout note
- Coolant method (flood / mist / TSC) and what you actually observed at the tip
- Failure photos (point, flutes, fracture) + chip photos + hole number at break
- Current cycle notes (speed/feed band, peck habit), recorded as observed
The full field list is in the solid carbide drill RFQ checklist. If a walked or packed drill already spoiled the pre-hole for a later ream, add the notes from PCD reamer pre-hole quality. Send the pack through the custom cutting tool RFQ.
Frequently Asked Questions
Will a tougher carbide grade stop the drill from breaking?
Usually not on its own. If the load that broke the drill is still in the setup, such as a walked entry, packed chips, runout or stickout, shock at skin, cross-holes or breakthrough, a mismatched point, or coolant that never reaches the tip, a tougher blank sees the same load. Name the dominant cause first, then change one variable.
Breakage on first holes vs after a run—what differs?
First-hole or early-lot breaks often track walk, hard entry, runout, or shock at skin/cross-hole. Breaks after a stable run more often track progressive packing, heat from poor tip delivery, or continuing on an already damaged edge. Preserve chips and the hole number either way—timing points to a cause, and on its own it proves nothing about the carbide.
Does through-coolant always stop breakage?
No. Through-coolant helps when chips and heat cannot stay stable under flood or mist, but it does nothing for a walked entry, excess runout or an unsupported breakthrough. Sort the breakage cause first, then decide TSC or flood on delivery risk at the actual depth.
What are the minimum notes for a breakage RFQ?
Drawing (Ø, depth, features), material, holder and stickout, what the coolant actually did at the tip, failure and chip photos, and the hole number at break. Upload them with the drawing through the RFQ form.
Next step
Name the cause with these six checks before you blame the grade. If the same corner chips again after a tool swap, run the correction through the sample validation process: drawing review, written sample acceptance, then first-article follow-up.
- Related checks: Through-coolant decision · Drill RFQ checklist · Hole process route · Reamer vs drill · Pre-hole quality · full diagnosis: Why solid carbide drills break
- Product: Solid carbide drill
- RFQ: upload the drawing and breakage notes through the custom cutting tool RFQ